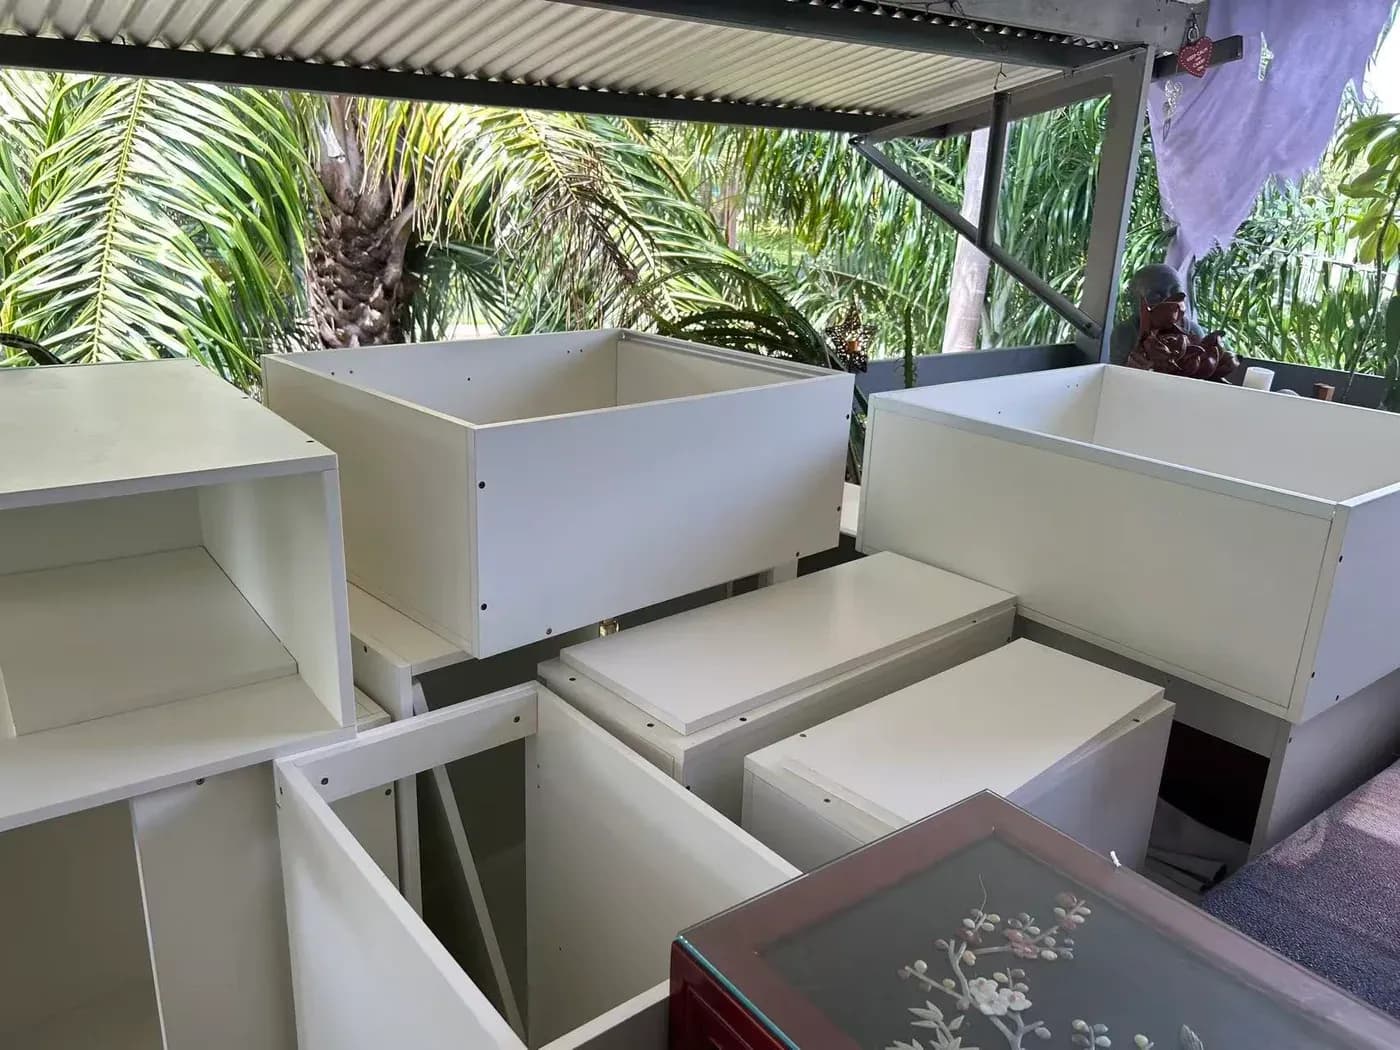
Clear photos give the team a practical starting point for a renovation or property-improvement enquiry. They do not replace an inspection, but they can show the current layout, the visible condition and the areas that need closer discussion. A small, organised photo set is usually more useful than many close-ups without context.
Start with the whole work area
Take one or two wide photos from different corners so the room, roof area or work zone can be understood as a whole. For a kitchen or bathroom, include the walls, floor, ceiling, doors, windows and fixed items that may affect access. For a commercial space, show the connection between the proposed work area and nearby occupied or operational areas.
Add close-ups with context
After the wide views, add closer photos of damage, leaks, worn finishes, unfinished edges or items that may need repair. Keep enough surrounding area in the frame to show where the issue is located. If a mark is difficult to judge for scale, place a common object nearby without covering the affected area.
Useful photo angles
- One wide photo showing the whole room or work area.
- Close-up photos of damaged, leaking or unfinished areas.
- Access photos showing where materials or tools can enter the site.
- Any reference photos that show the result you prefer.
- Photos of services or fixtures that may affect the proposed work.
- A simple sketch or marked photo if several areas need different work.
Include a short written description
Explain which areas are included, what you want to change and whether the property is residential or commercial. If you know about previous repairs, water entry or structural concerns, mention them without guessing at the cause. The team can then identify what needs inspection or specialist confirmation.
For renovation work, AUHUA Services records the enquiry first and confirms the practical scope after review. Visit Renovation & Property Improvement to see the relevant service areas before sending your photos.